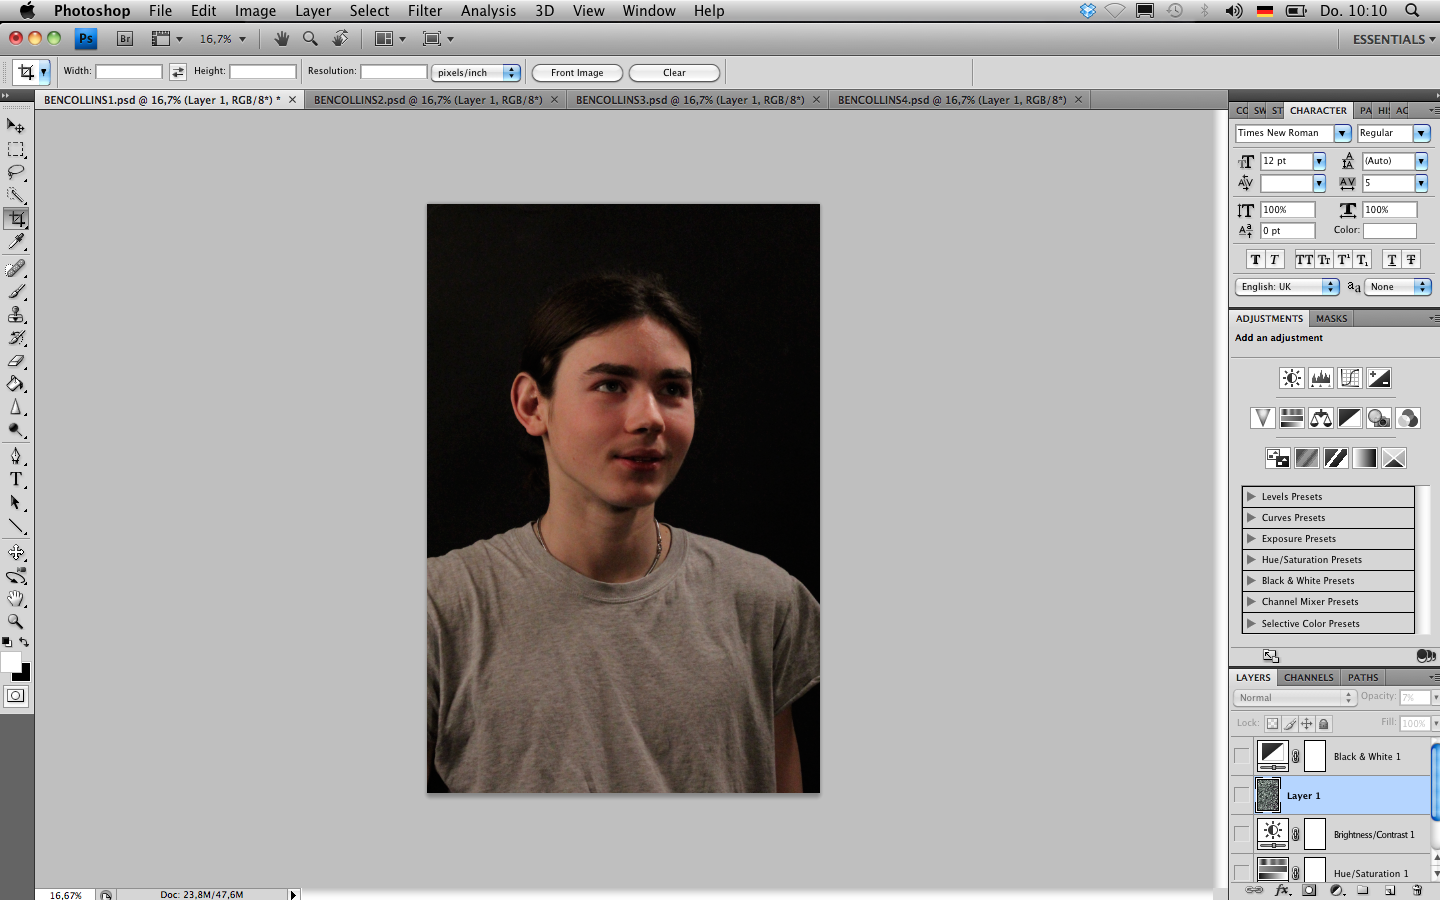
After choosing our favourite pictures in Adobo Bridge, we tried various ways of editing in Adobe Photoshop. We used two different, one of our actor facing the camera and one of him looking away. Both images are shot with a year book style. We took the photographs in our school studio where we could control the lighting and had a black back drop. This brought simplicity to our shoot.


We proceeded by adding a texture over the image which added a bit of grain, again, this was to create a vintage style to our image. We then played around with the "grey-scale" and the "hue & saturation" tool having two final versions to choose from. The black and white version and the slightly saturated version.


For the second image we chose a similar editing style. We again worked with the "levels" tool to adjust the lighting and the contrast of the image and also altered the "exposure" settings in order for the image to soften.


Then, just like the fist image, we added the same texture and put its opacity down in order for it to only slightly affect the image. We finished by using the "hue and saturation" tool.
No comments:
Post a Comment